No-Drill Fish Bone Soap Holder: Keep Bars Dry
Wall-Mounted Fish Bone Soap Holder (No-Drill) – A Cleaner, Drier Soap Setup for Busy Bathrooms
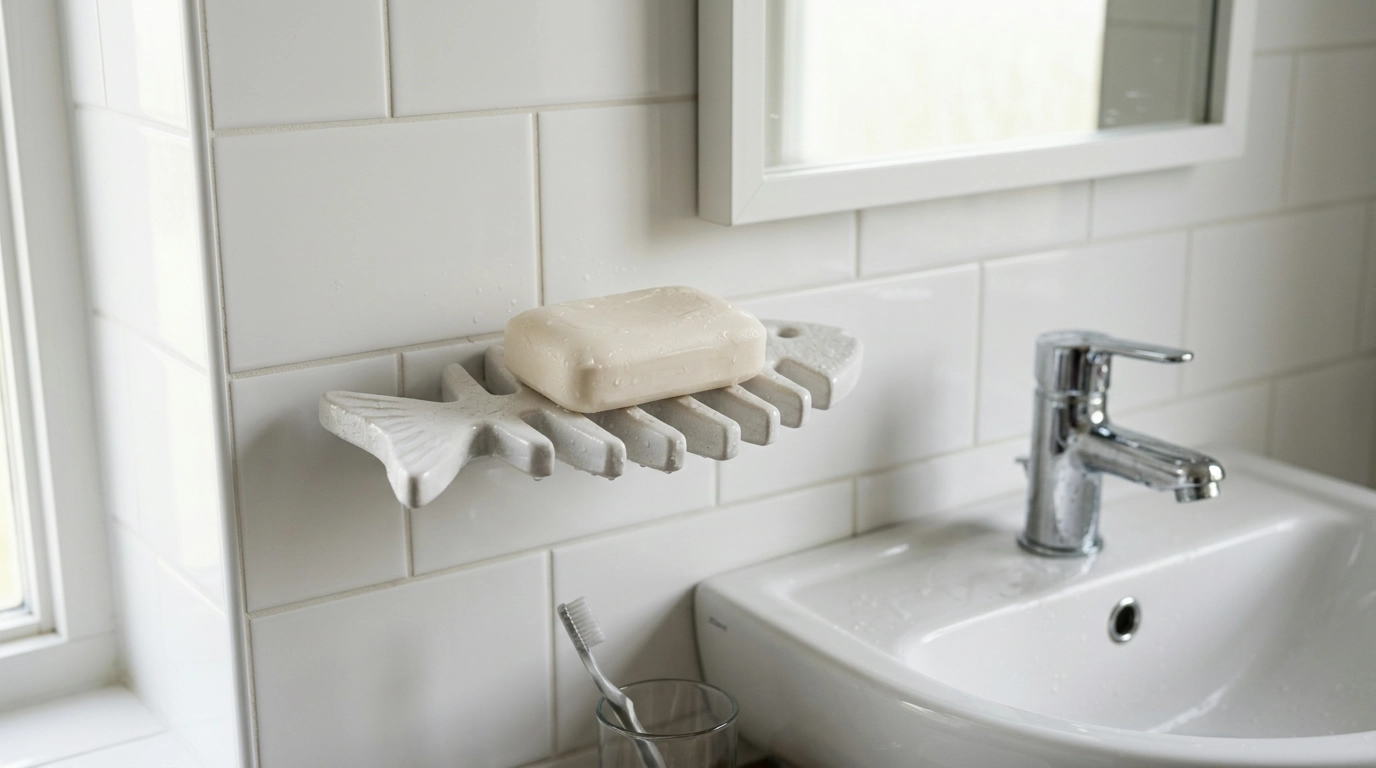
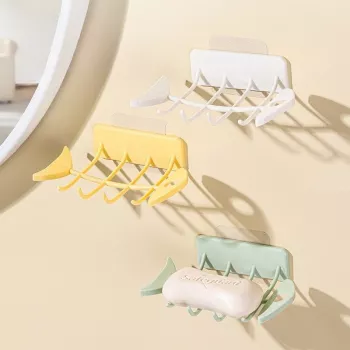
Bar soap is simple and affordable—until it turns into a soggy mess on the sink edge. Our Wall-Mounted Fish Bone Soap Holder is designed to keep soap elevated, draining, and off your counters, with a no-drill install that works well for rentals and quick bathroom upgrades. When your soap has a consistent “home” and a way to shed water between uses, you’ll usually see less slime, fewer countertop rings, and faster wipe-downs around the sink and shower.
Why this soap holder earns its spot in the shower or by the sink
- Wall-mounted placement keeps soap away from puddles and countertop clutter, so your sink edge stays clearer.
- Drainage-first design helps bars dry faster between uses, which reduces mushy residue and soap scum trails.
- No-drill setup avoids damage to tile and painted walls—especially helpful in apartments, dorms, guest baths, and kid bathrooms.
- Fish bone shape adds a playful touch while staying practical for everyday handwashing and showers.
- Small-space organizer for soap bars in bathrooms, powder rooms, and laundry sinks where every inch matters.
Keeping hands clean is already one of the easiest daily habits you can support at home; the CDC emphasizes handwashing as a key step for reducing the spread of germs. A setup that’s easier to keep clean can make that routine feel less messy and more consistent. See: CDC — Handwashing: Clean Hands Save Lives.
Where it works best (and where it doesn’t)
Best locations
- Great near: bathroom sink, shower wall, tub surround, kitchen sink backsplash, utility sink.
- Best for: bar soap, small solid shampoo/conditioner bars, and dish soap bars.
Where to skip it
- Not ideal for: heavy items, oversized bottles, or anything that needs a flat shelf.
- Avoid: dusty paint, uneven stone, or textured walls where adhesives can’t fully contact and bond.
Surfaces that typically hold strongest
- For the longest hold, apply to smooth, clean, dry surfaces (glossy tile, glass, finished metal, sealed surfaces).
If you’re dealing with persistent dampness, reducing standing water and wipe-down frequency can also help limit moisture problems in the room. The EPA’s guidance on moisture control is a helpful reference for bathrooms and laundry areas: EPA — A Brief Guide to Mold, Moisture, and Your Home.
Quick setup checklist (no-drill install that stays put)
- Clean first: Remove soap film, oils, and residue from the mounting area, then dry thoroughly.
- Pick a smart spot: Choose a location where water can drip away freely and the holder won’t be constantly blasted by the shower stream.
- Press firmly: Strong initial pressure helps the adhesive fully bond to the surface.
- Respect cure time: Let the adhesive set before loading it with a soap bar (follow any package guidance included with your unit).
- If you move it: Plan to refresh the mounting method rather than reusing worn adhesive, which can reduce holding power.
Everyday use tips for a drier bar and less cleanup
- Quick rinse, then return: After use, set the bar back so water can drain away—this helps keep residue from building up.
- Start smaller for soft soaps: If your bar is very soft, begin with a smaller piece to reduce slipping and speed drying.
- Occasional wipe: Wipe the holder now and then to prevent film buildup, especially if you have hard water.
- Airflow helps: Keep it slightly away from the direct splash zone; steady airflow usually dries bars faster than constant spray.
- Pair with a simple routine: A weekly wipe-down around sinks and showers goes faster when there’s less clutter on ledges.
Fit guide at a glance
Use this quick decision table to choose a placement and soap type that tends to stay cleaner. If a surface is smooth and easy to clean, it’s typically a strong candidate for adhesive mounting. If your soap bar is very large, cutting it in half often improves fit and drying speed.
| Location | Surface to Mount On | Recommended Soap Type | Helpful Tip |
|---|---|---|---|
| Bathroom sink | Tile / mirror edge / smooth wall panel | Standard bar soap | Mount slightly above splash line to reduce constant wetting |
| Shower wall | Glossy tile / glass | Soap or solid shampoo bar | Place where it gets airflow, not direct shower spray |
| Kitchen sink area | Backsplash tile / smooth metal | Dish soap bar | Keep away from food prep splatter for easier cleaning |
| Laundry/utility sink | Smooth sealed surface | Stain soap / bar cleaner | Mount higher to avoid bumping with buckets and tools |
A small upgrade that makes shared bathrooms feel more organized
Product picks from our team
- Wall-Mounted Fish Bone Soap Holder – No-Drill Drainage Soap Dish — a low-effort way to keep bar soap cleaner, drier, and off the counter.
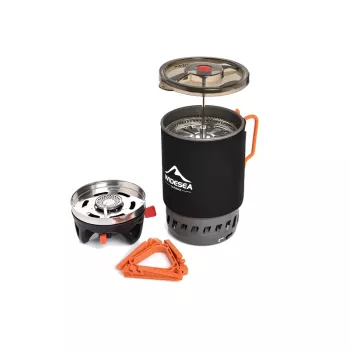
- portable-camping-cooking-system-with-heat-exchanger-and-gas-stove — a handy pick when you want compact, packable convenience for trips and grab-and-go weekends.
FAQ
Will this damage tile or leave marks when removed?
No-drill adhesive mounting is designed to avoid holes, but removal results can vary by surface finish and the specific adhesive used. For best results, remove gently and slowly and clean any residue afterward; if you have delicate finishes, test a small, less-visible area first.
Can it be used in the shower where it gets wet often?
Yes, it can work well in wet areas when mounted to a smooth, clean surface. For better performance, place it out of direct spray and allow the adhesive to fully set before you load it with a bar.
Does it work with solid shampoo bars or dish soap bars?
It can hold different types of bars as long as the size and weight are reasonable for the holder. If a bar is oversized, cutting it into smaller pieces and keeping the holder in a spot with airflow helps it stay drier.














Leave a comment